- Blogger Basics
- Creating Pages / Creating Posts
- Labels
- Posting Images
- Posting a YouTube Video on your blog
- Adding Gadgets to your sidebar
Learning Call Blogger Screencasts
 Creating/Editing your Blogger Blog |  How to adjust widths for Blogger templates | 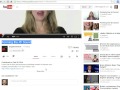 Posting Video to your Blogger Blog |
TeacherTrainingVideos.com Screencasts
Blogger basicsTo get to Blogger, go to Blogger.com or click 'Google Matrix/More' from any Google page (gmail, docs, etc.)


Creating a Blogger Blog
Go to Blogger.com and sign in with your gmail ID and password.
Click 'continue' or 'Continue to Blogger' and set your language to 'English'.

Choose any blog title you wish (it can be simple like Jeff's TTP Blog') The Blog address will be more challenging. You need to check availability for any address you choose. No spaces allowed.

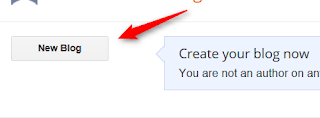
When you have found one, click 'create blog' and you'll see this page. Click which template looks nicest to you. This can be changed later. DO NOT Choose a 'Dynamic View' theme.


Your dashboard is were you can control all aspects of you blog. To get there click the orange B in the upper left corner of your screen. To go to a particular section, click on the downward pointing triangle and select the management area you'd like to go to.

Creating Posts / Creating Pages Most of the time, when you create content on your blog, you will create a 'post by clicking 'New Post' at the upper right corner of your blog page or on your Dashbaord.


Enter your title and body and 'Publish Page'. Examples of pages you might create include
- About Me
- My Classes
- Contact
Feel free to create additional pages if you wish.
Add the 'Pages' Gadget to the top menu block of your blog


To add other gadgets, click 'Add a Gadget' and choose from the list. Popular gadgets include

- Blog Stats
- Search Box
- Link List
- Top Comments
In order for the gadget to be added, you must click 'Save Arrangement' before leaving that page.
To change the design of your blog, click 'Template' You can select any theme that is shown. To customize your main theme, click 'Customize'. You can also modify your mobile theme by clicking the 'gear' next to Mobile.

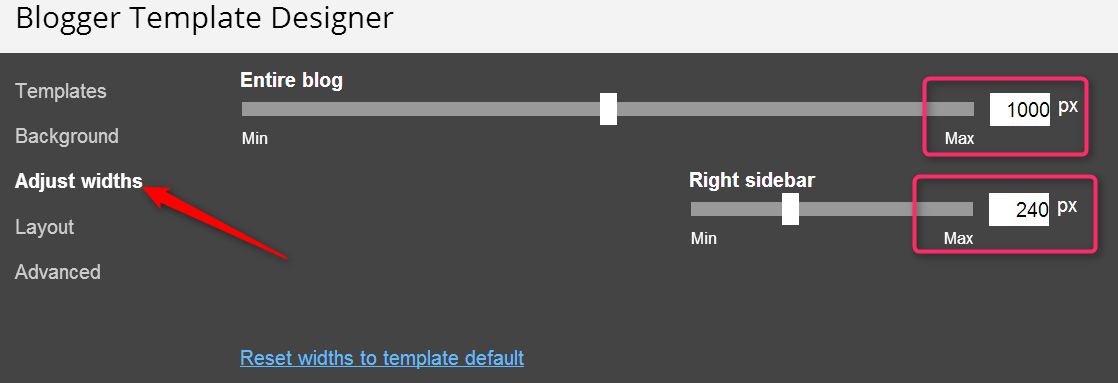
To adjust the widths of your of your content layout, click 'Template/ Customize/Adjust Width'. Change the widths to numbers desired. I generally set the total width to '1000' and the sidebar to '240'. Screesnhot below and Screencast here.
Labels Labels are used to create categories for your posts. For example, if TTP Trainees wanted to create a Courses category on their blog. Click ‘New Post’.
Title: My TTP Courses Body: I am taking the following courses as part of the BUFS Teacher Training Program. CALL, Speaking, Writing, Practicum, Extensive Reading Labels (you can copy and paste these): CALL, Speaking, Writing, Practicum, Extensive Reading

Publish that post. Now, go to your Dashboard/Design. Click 'Add a Gadget', and click the + next to Labels

Change the Title to 'Courses' and choose 'Selected Labels'.

Select all the the course labels you just created. Click Save and Save.

You should now see the Course Section on you blog menu. Any time you create content related to a particular course, use the appropriate label.

Create 'New Post' and choose the 'Componse' tab. Then click the Image icon.

Select 'upload' and choose file. Find the file(s) on your computer. You can select mulitple images if you like. Then click 'Add Selected.

Once the photo has been loaded if you mouse over it, you can select the site, orientation (left center right), add a caption, or remove it.

Go to YouTube.com. Find a video you'd like to post. Beneath the video, click 'share' and then 'more'.

Click the blogger icon

Another window will pop up with either some code or a screenshot of the selected video. Either way, click 'Publish Post'. That's it.

Compose vs. HTML
Compose mode allows you to post in a WYSIWYG format.
What You See is What You Get
HTML mode shows you the raw code
<span style="font-weight: bold;">What</span> <span style="font-style: italic;">You</span> <span style="font-weight: bold; font-style: italic;">See</span><small> is </small><span style="color: rgb(204, 0, 0);">What</span> <span style="text-decoration: underline;">You</span>
Whenever you see 'embed' you will probably need to use HTML mode to copy and paste that code.
No comments:
Post a Comment